Sezione disponibile solo in inglese
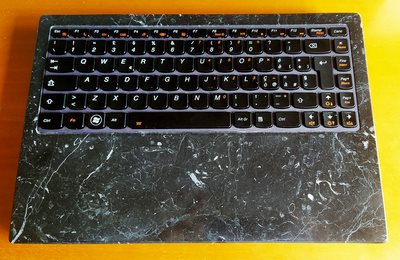
Laptop to USB keyboard conversion
Making the keyboard I couldn't find.
After years of typing on classic keyboards, a decade ago I tried at the workplace the Aluminum Apple Keyboard and I immediately found it much more comfortable, to the point that after a few days I went to a shop to buy one to use at home.
Now I do not have much space on the new desktop as I had on the previous, thus I've been looking for a similar keyboard, but smaller. Of course, I could have bought the same Apple keyboard without the num-pad, but in the meantime, I've learned the benefit of a back-lit keyboard and that is not. On the market, I couldn't find any keyboard fitting my needs. I often thought I wanted a keyboard like my laptop's one until I came across this instructable and I understood that I could have what I was looking for.
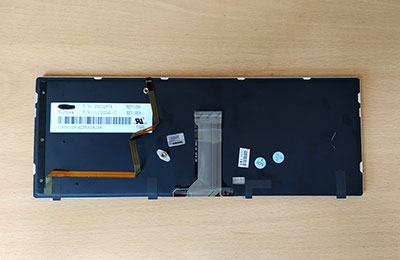
The only thing I missed was to find a laptop's replacement keyboard, and I bought one for the smaller version of my laptop, then I bought all the components suitable for the keyboard's flat cable and assembled all of them.
Briefly and not exhaustively, the required steps for the conversion were:
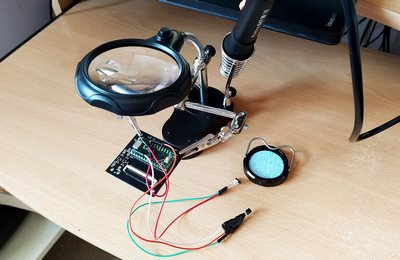
- to solder the electronic components
- to find out the pins pair used by each key on the keyboard to build a matrix out of the keyboard's wiring
- to program the Teensy microcontroller according to the matrix obtained
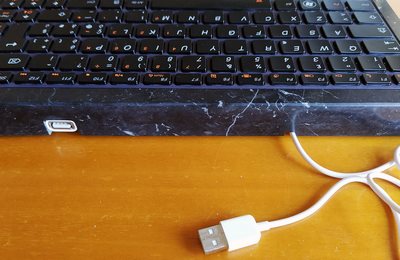
Besides the instruction found on the instructable, I added a USB hub to have an additional USB port on the keyboard, basically to plug there my mouse, but it can also host an external drive or any other USB device.
I can't miss to express my gratitude to Frank Adams , the author of the instructable, whose support was essential to debug the circuit and to find out some malfunctions.

